

Pin the Tail on the Bunny Craft

Easter is just a hop, skip, and a jump away, and we’ve got just the craft to keep your little ones entertained! This adorable project will provide a tactile activity that will not only keep your children busy, but will assist with motor and brain functions. Enjoy this project during springtime for years to come. Note: This project involves sharp objects and is intended for adults to create for their children to enjoy.
What You Will Need:
- 1 Large Green Felt Sheet
- 1 Large White Felt Sheet
- 1 Printed Rabbit Template
- Assorted Felt Swatches
- 1 Marker
- Assorted Embroidery Thread
- 1 Embroidery Needle
- 1 Pin Cushion (for safe needle handling)
- Fabric Pins
- Fabric Scissors
- 5 Adhesive Velcro Squares
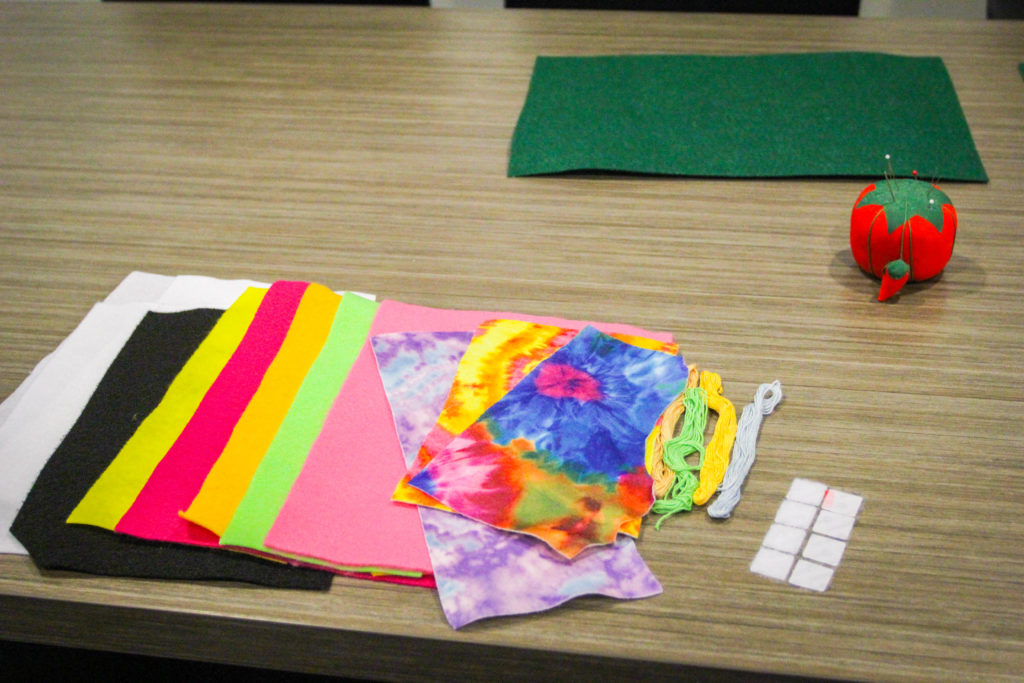
Your Work Space:
Make sure to have ample space to spread out your craft supplies. For our Pin the Tail on the Bunny creation, we chose a green felt background to give the appearance of grass, but you can choose whichever colors are your favorite! Get creative, find fun patterns to use for your Easter eggs and cotton tails.
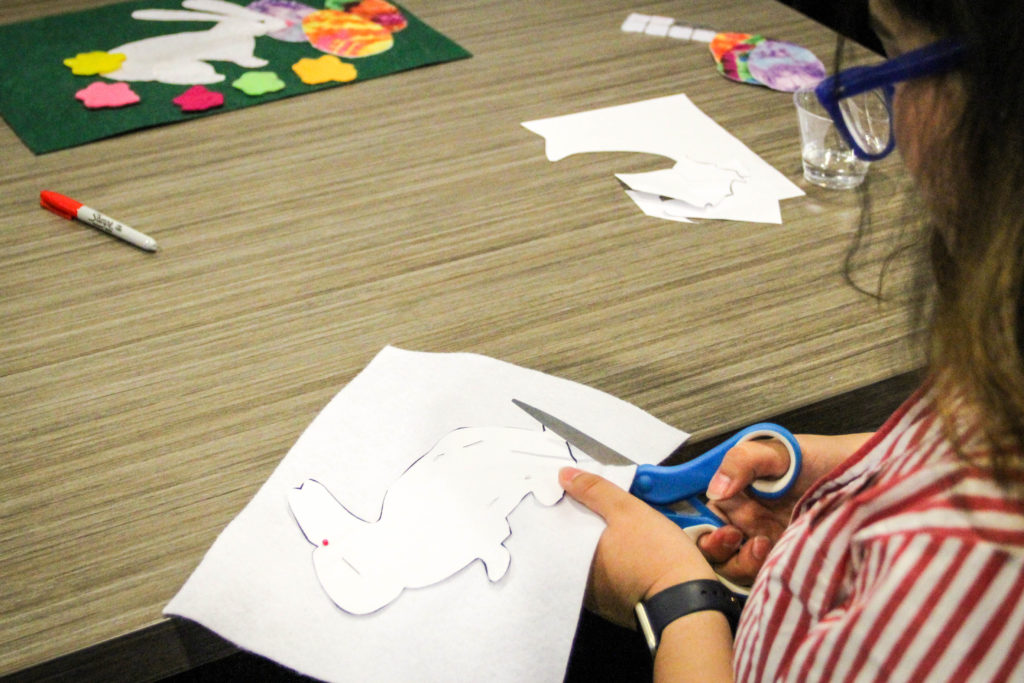
Step 1:
On an 8.5 X 11 sheet of paper, print out an outline of a bunny or draw one of your own creation! Cut along the line and set the bunny aside. Using fabric pins, secure the bunny pattern onto a single sheet of white felt. Using the pattern as a template, cut along the outline of the bunny to create your fluffy fella. Detach the pins from the paper bunny, and set the felt bunny to the side. Next, use patterned sheets of felt to create Easter eggs. Cut these shapes out and set them to the side to be used on your final springtime scene.
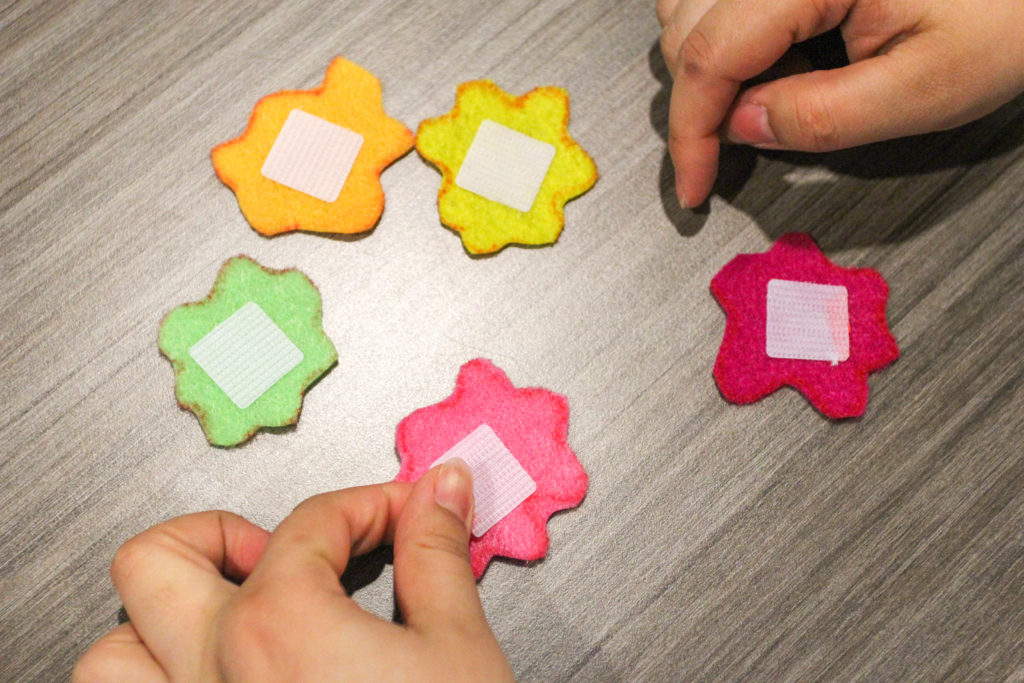
Step 2:
This is a step that your child can help with. Using a marker, have your child draw fluffy bunny tails onto multicolored sheets of felt. Carefully cut out each tail, following the outline. Now, let’s make outr bunny tails sticky! Remove the adhesive backing, and place a square of Velcro (the rough side of the Velcro, not the fluffy side) onto the backside of each tail. Place bunny tails to the side along with your bunny and egg shapes.

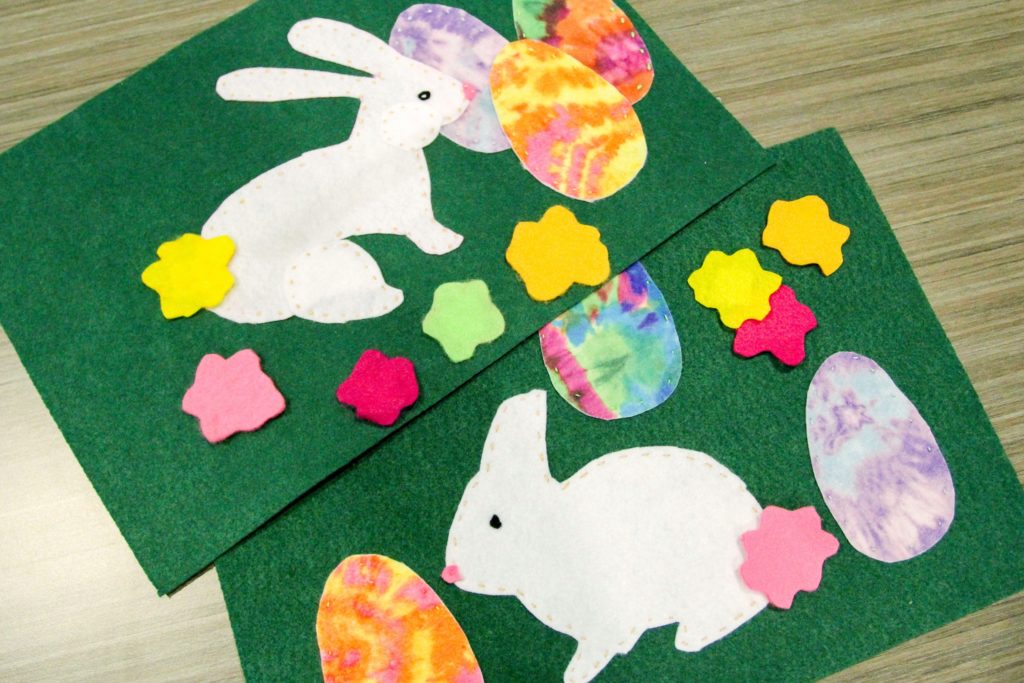
Step 3:
It’s time to create the scene. Have your kiddos arrange the bunny and eggs onto the green felt sheet. Next, pin the pieces onto the fabric to secure your scene in place. Finally, choose your favorite color embroider string and sew the pieces into place.

Step 4 (Optional):
Finish off your creation by adding fun details. We decided to go with a small pink nose and little eye for our bunny. These details can easily be made by cutting out small pieces of felt and sewing them into place with a single stitch. Another alternative is kids can use their creativity by customizing the details with markers. Have fun with your design! You can add as many or as little details as you wish.
It’s Time to Play!
Now for the fun part: blindfold the kiddos, hand them a bunny tail, give them a spin and send them in the direction of the bunny scene to pin the tail on the bunny!
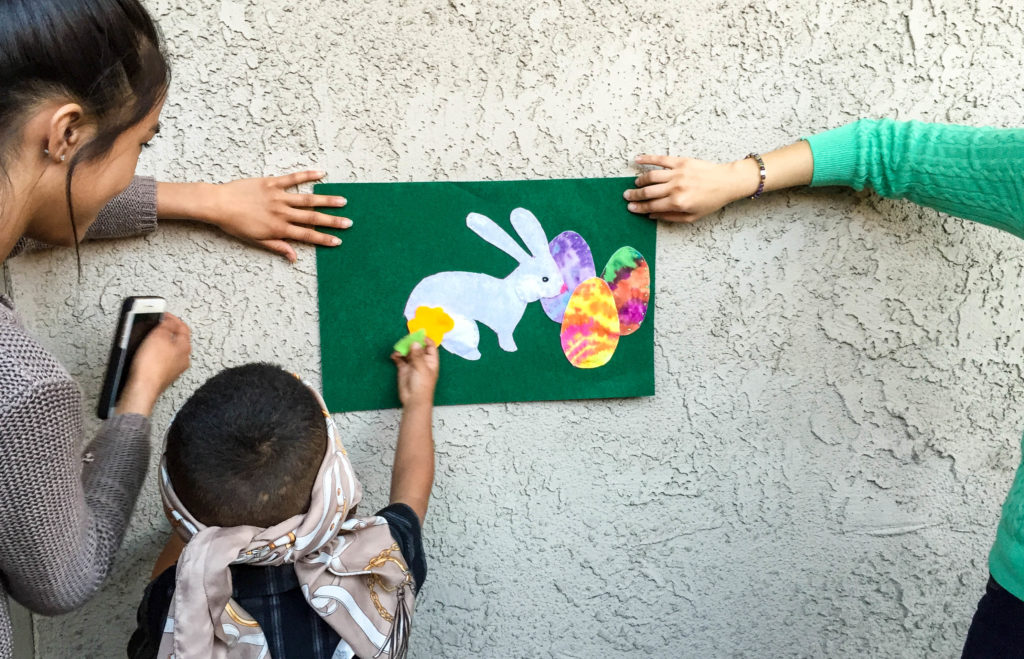
We brought this activity to Trinity Youth Services foster care office in West Covina and it was a huge hit! The kids took multiple turns, hopping back in line as often as they could and encouraged one another to get the bunny tail as close as possible. The children in Trinity’s care are truly a heart-warming inspiration!
 Rebecca Ustrell, Community Outreach Coordinator
Becky acts as liaison for Children’s Foundation of America. On any given day she could be meeting with potential donors, coordinating a fundraising event, recruiting volunteers and forming partnerships with other nonprofits that can benefit from the help of our Foundation. Becky is currently studying sociology as well as fine art and helps organize the Claremont Art Walk. You will most likely find Becky working on freelance illustrations, playing the cello, mingling at a chamber of commerce event or volunteering in the community.
800-543-7730 | rustrell@trinityys.org